
Hi, here we are back with going to continue creating a login website. In the last article we worked on the validation controls. In this part I will show you how to create a database for a website. If you have read the previous article that’s great. Otherwise I prefer you to go through the previous article of How to Create a Login website – Validation Controls (Part 1) in ASP.net.
Now I assume that you know what we have done previously. Now let’s see how to create a database.
Right click the project in solution explorer. And select add then click on add new item. After that, add SQL server database. Name it what you want I have named it as Registration. It will be like this.

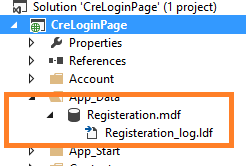
Now you can see your database is added into the project.
Now click the view and open the solution explorer. And it will be docked in the side like this.

Now click on the tables. Select create new table option. A window will open in front of you where you have to fill the columns. Fill the columns with ID, username, email and password respectively.

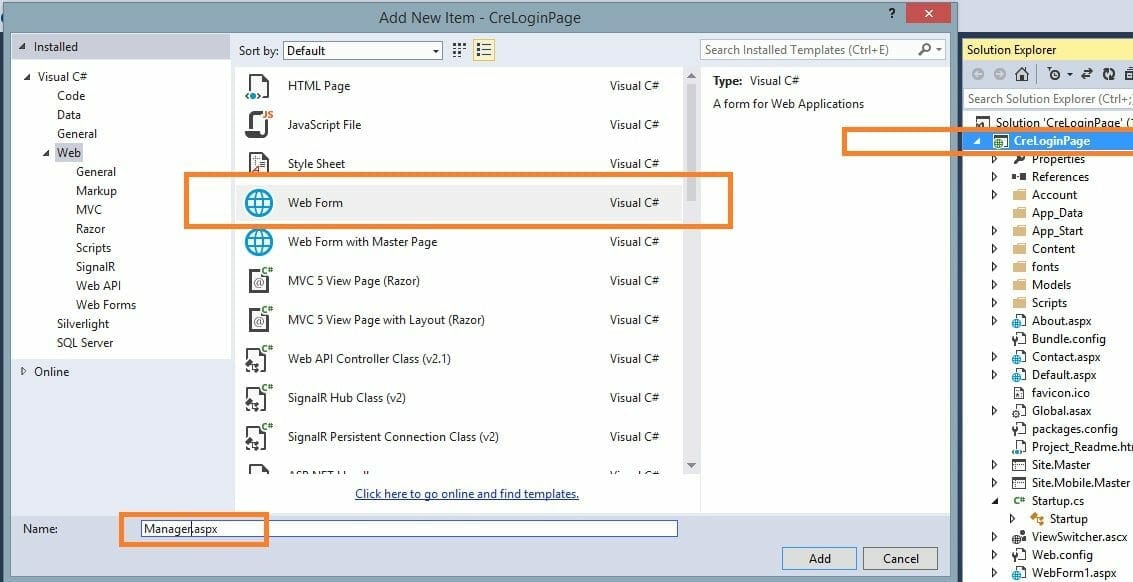
Now save it and give it name. I have named it user data. Now click the project and add new webform to it. Give this web form name as manager.
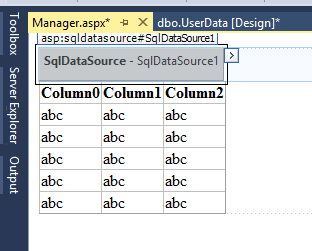
Now on the manager form you have to add to things on it. First one is Grid view and other one is SqlDataSource. Both of them are available in the toolbox.
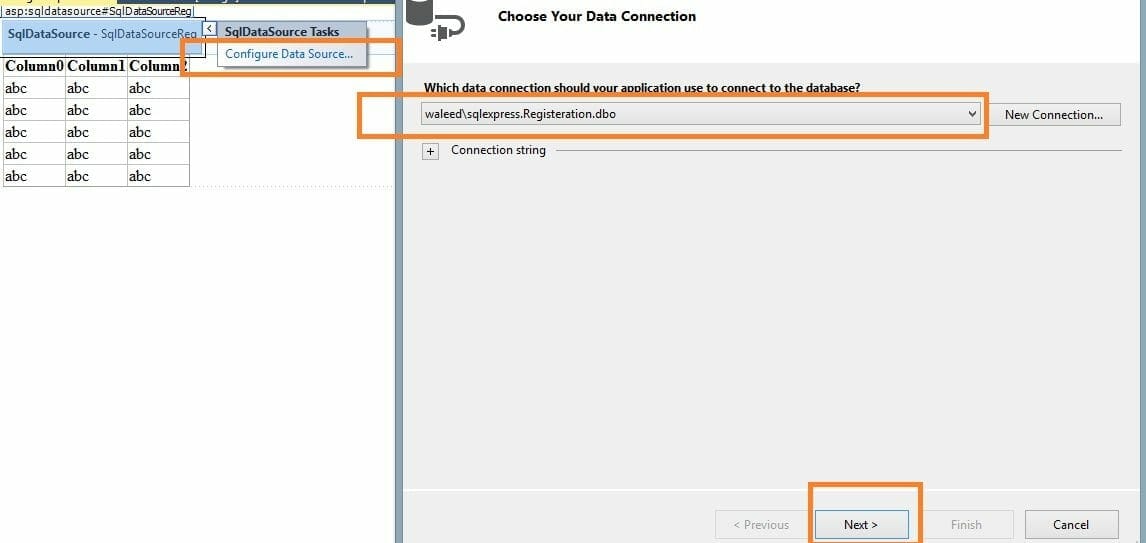
Now click the arrow of the SqlDataSource. A window will open and select the database in it. And then press the next button.
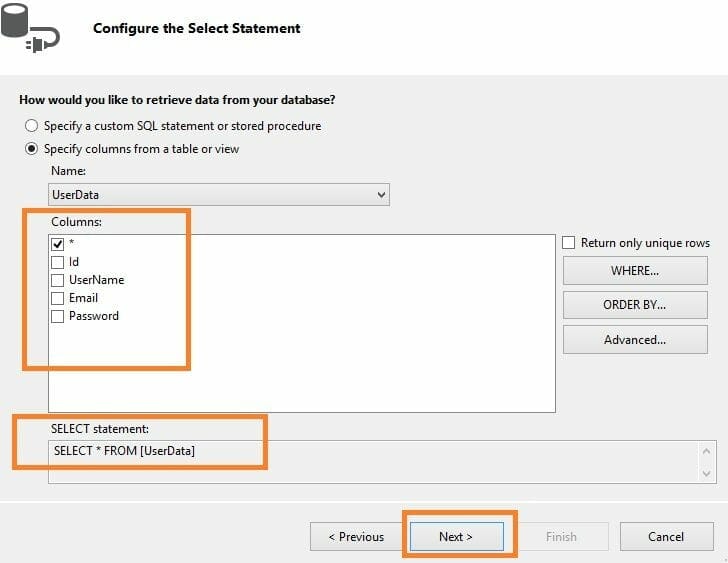
Another screen will appear then press next for that too. After that a screen will appear that will ask which columns you want to see in the database. Let it be default. That means all the columns. It will be looking like this.
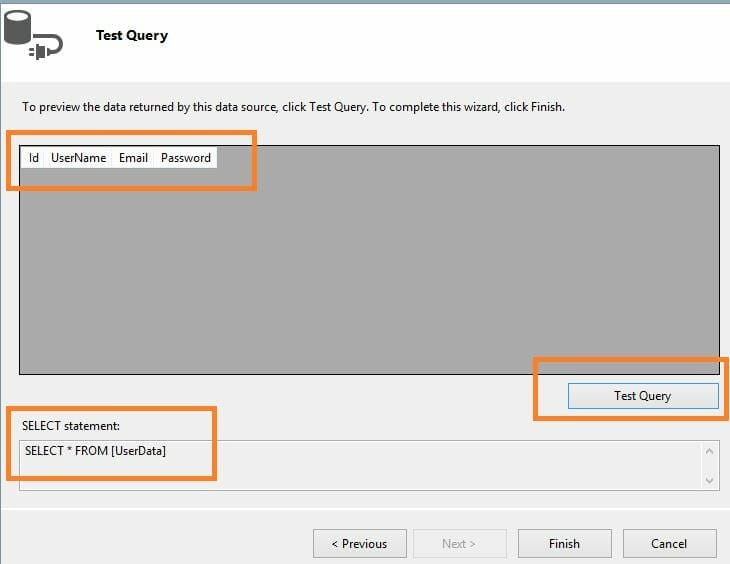
Now after clicking the next button a window will appear where you can test the query. If it will work or not.Click the test query. Then you will see the columns. That means your query executed perfectly.
Now press the finish button.

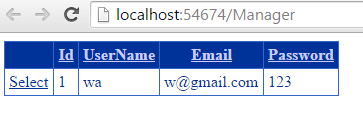
Now all the information will be shown in the manager page. Now lets test it by giving it some values. Now enter the values in the database and execute it the manager page will execute like this.
 The next part will be updated soon. Keep in touch hope you like it.
Article Written by Waleed Rashid. More info here.