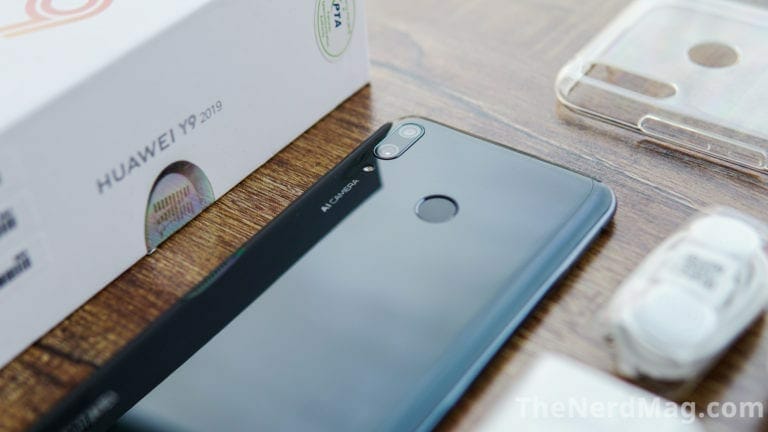
If you have just purchased a Huawei Y9 2019 and you’re wondering how to take screenshots on your new phone here are a few tips which will help you to take screenshots from your brand new phone. Huawei announced this phone back in October featuring some really great specifications with a pocket-friendly price and a huge battery allowing you to use your phone without having to worry about charging at all. Well without wasting time let’s get into our guide.
Here’s How To Take Screenshots on Huawei Y9 2019
The phone rocks a solid 6.5″ IPS LCD touchscreen with 4GB of RAM and 64GB of internal storage with external storage capacity support up to 512GB of extended storage. You can read our full review from here. The phone might lack a good rear camera but overall it is a great phone.
This is the first method through which you can take screenshots. Just like any normal smartphone the procedure of taking screenshots on Y9 is pretty straight forward. Here’s how you can take screenshots with the volume and lock key on the phone:
Step 1 – Open the application or window or game you want to take a screenshot of.
Step 2 – Now press the volume down and power button together.
Step 3 – Now you don’t want to hold the buttons for too long just press them together and you will see an animation where you can share, edit the screenshot
And that’s it folks that’s how you can take screenshots with the buttons. There is another method as well through the navigation panel. Which you can read down below.
This is how you can take screenshots on Huawei Y9 2019 through navigation panel.
Step 1 – Open up the screen/window/application or game you want to take a screenshot of.
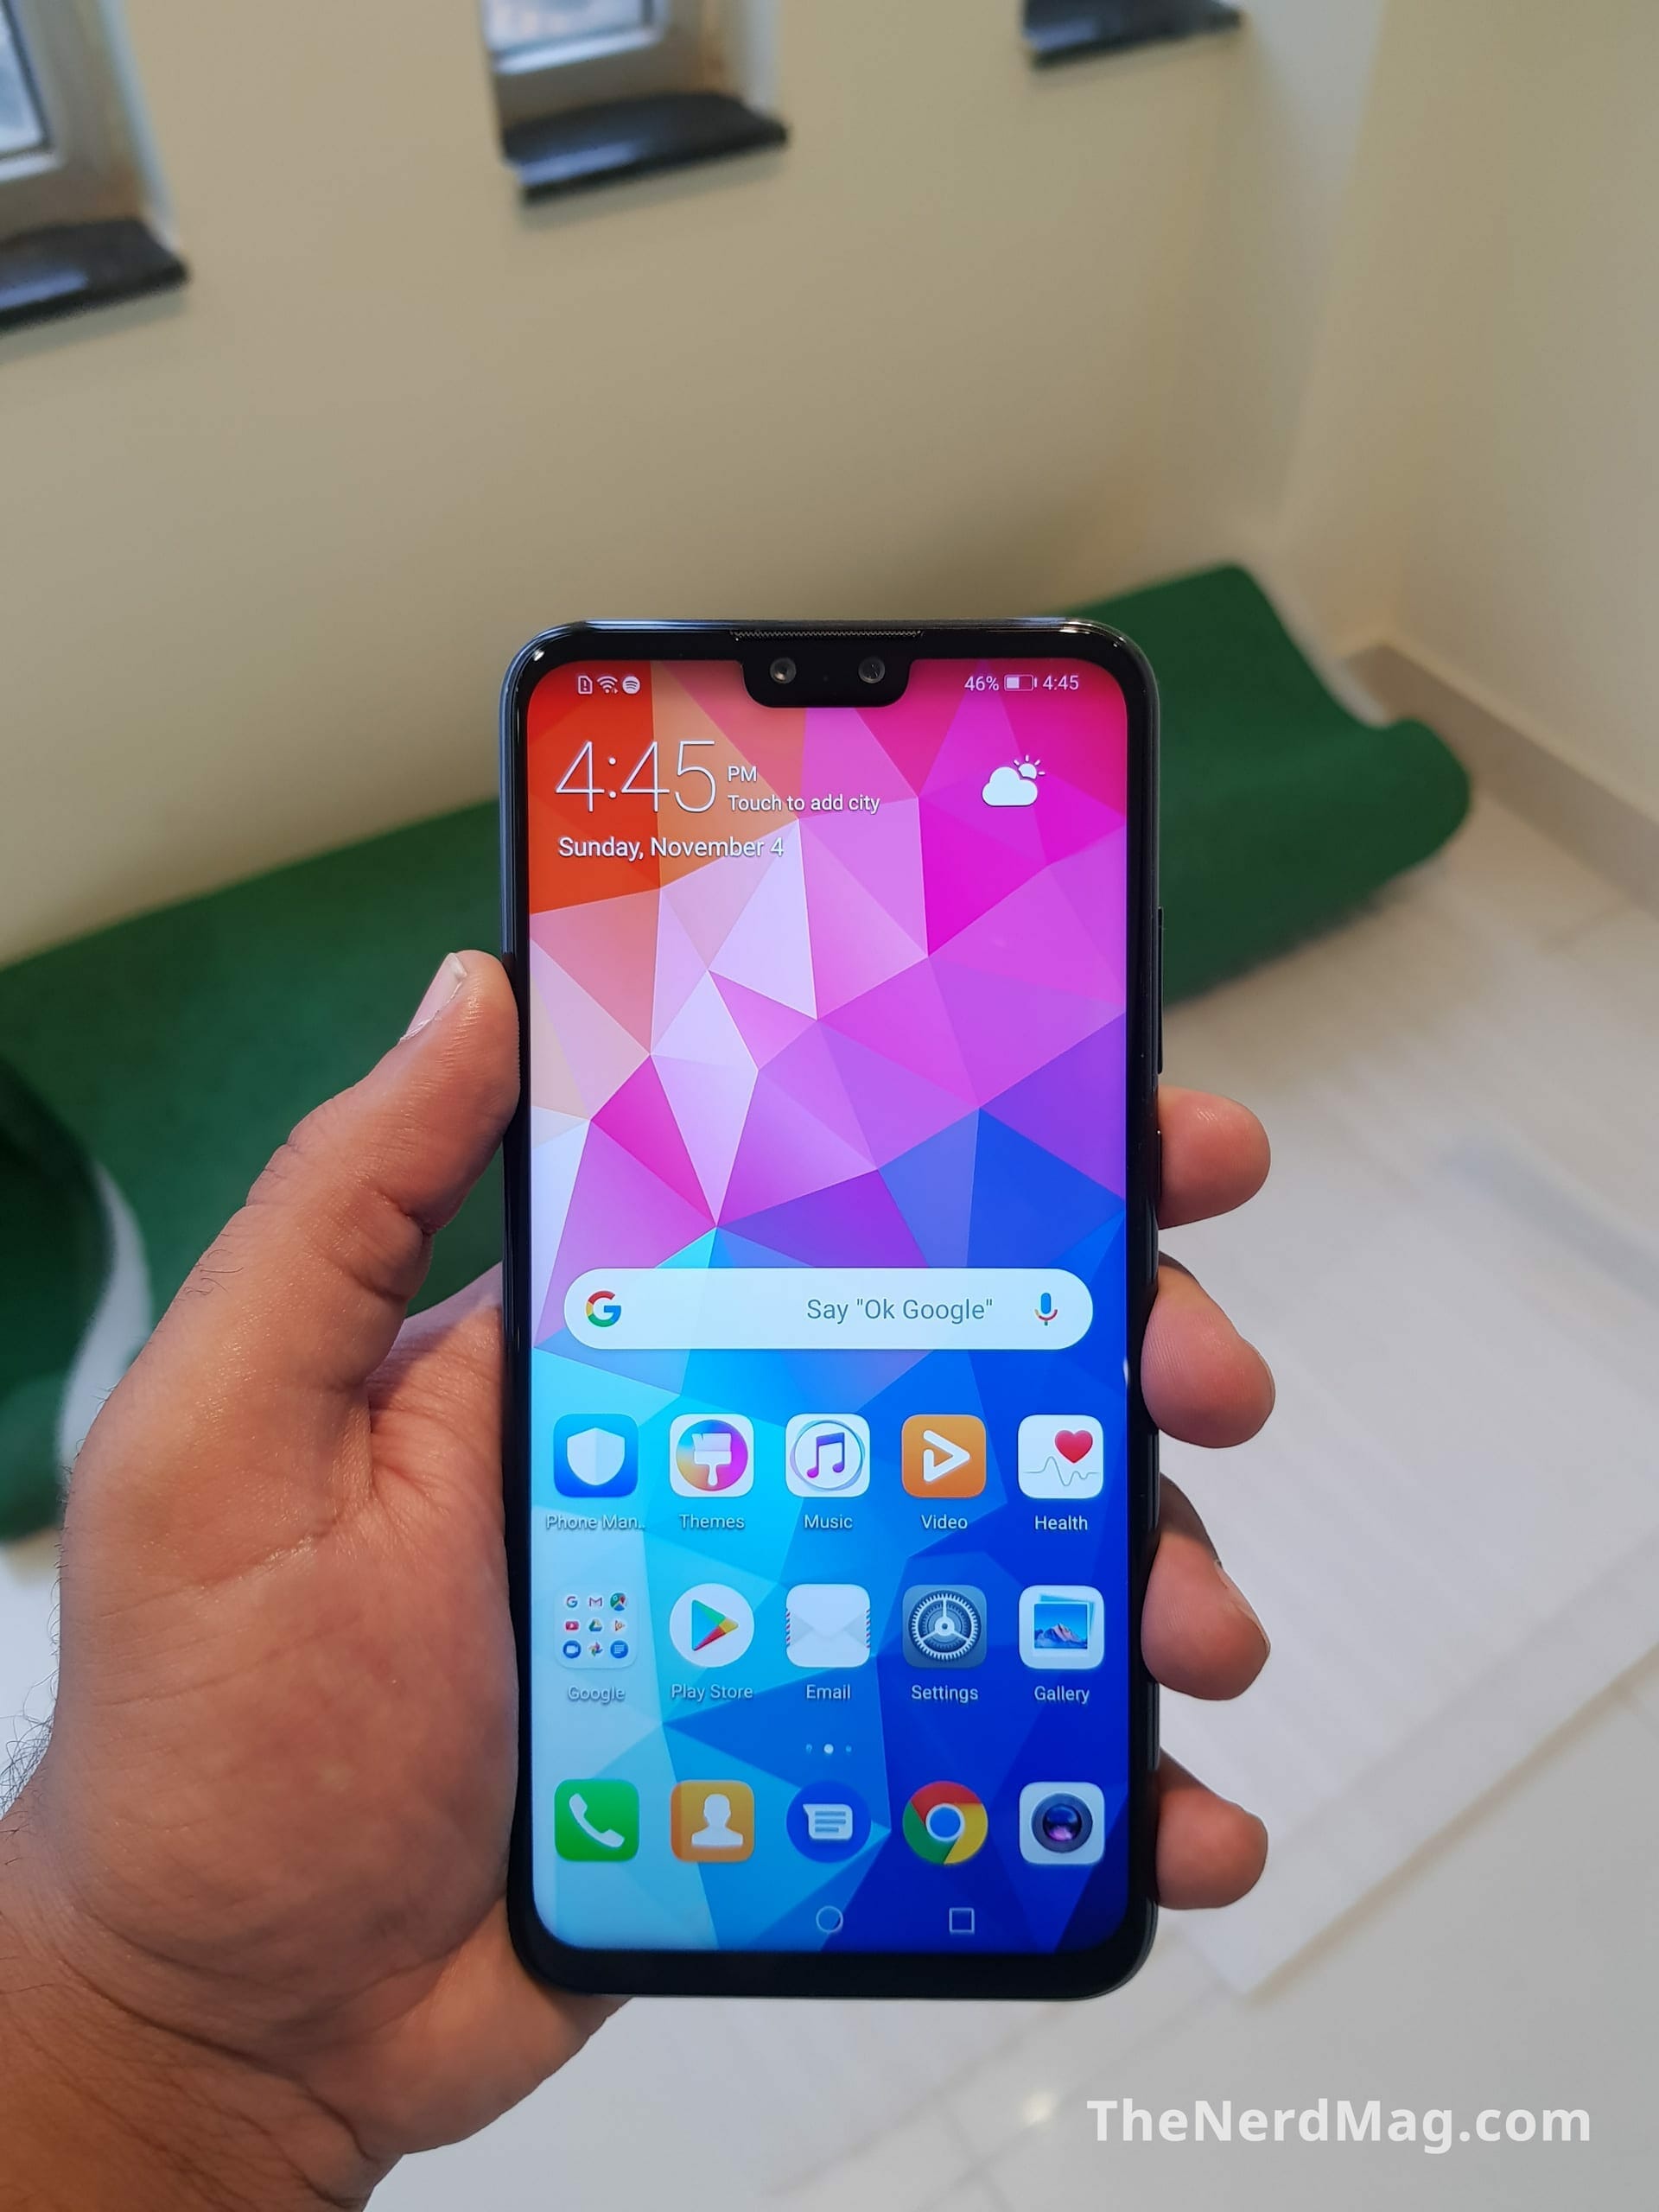
Step 2 – Drag down the navigation panel and you will see 5 icons on the top.
Step 3 – Now again swipe down the navigation panel as it will reveal more icons.
Step 4 – Now you will see an icon named “Screenshot” and touch that.
Step 5 – It will show an animation which will confirm that the screenshot has been successfully taken or not.
And there you go.
Storage Directory
Now if you are wondering where these screenshots are saved, they are saved in the directory below:
Go to Files(File Manager) > Internal Storage > Pictures > Screenshots
You can also open the screenshots from your gallery and that concludes our guide. Do let us know down in the comments about your views about this guide.