The Legend of Zelda: Breath of the Wild in CEMU truly gives us a lot of bells and whistles!
The Legend of Zelda: Breath of the Wild is definitely one of the reasons for the massive success of the Nintendo Switch. However, perfection can still be improved upon, as evident with Legend of Zelda: Breath of the Wild in CEMU, a PC Emulator for the Nintendo Wii U.
 The Emulator has opened a gateway towards many tweaks and changes that are otherwise impossible to do on a Nintendo Wii U, and while it does offer a large range of options for the players to pick and choose with plenty of other useful mods made by the community to implement in the emulator.
Today we are going to take a look at how to install a graphics pack on CEMU, which will aim to resolve the clarity and color correction issue for The Legend of Zelda: Breath of the Wild.
The steps to replicating them are relatively simple and very straightforward, you only need basic knowledge of computers to be able to pull off this guide.
Old Tech, New Tweaks!
Without any further delay, let’s get into it, shall we?
How to install Legend of Zelda: Breath of the Wild in CEMU with Ultra Graphics Mod:
Step 1.
Download the graphics pack by clicking here.
Step 2.
When you have downloaded the graphics pack, make a new folder on your desktop and extract all the contents of the archive into the folder.
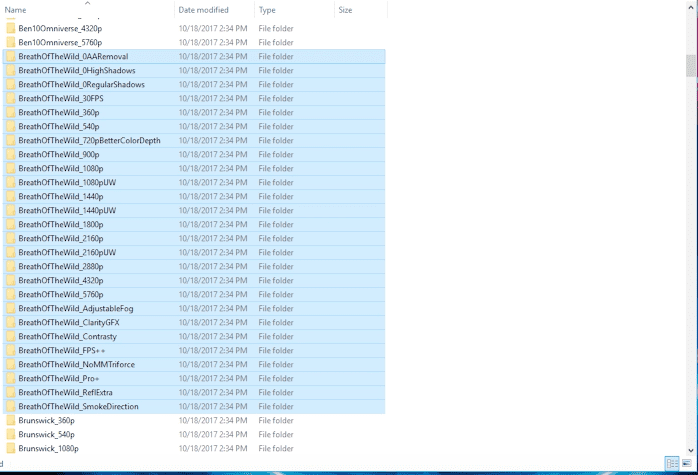
Step 3.
Select all of the necessary files for the graphics pack as shown below, particularly for The Legend of Zelda: Breath of the Wild.
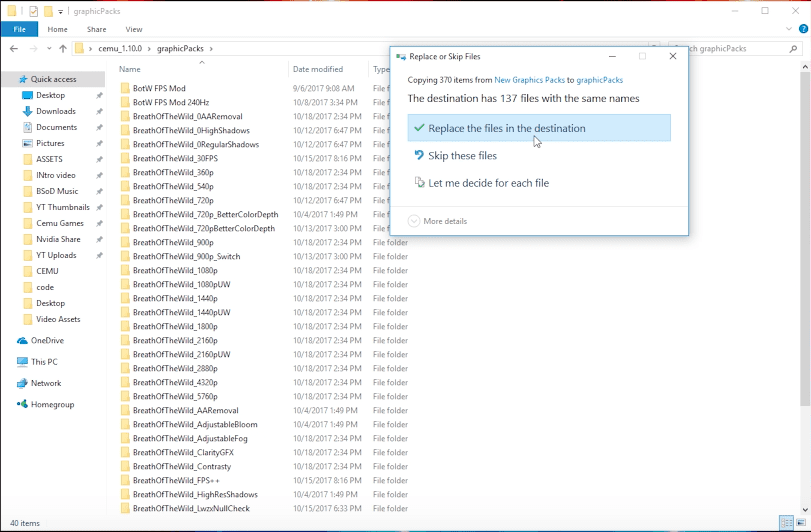
Step 4.
Navigate to your CEMU folder, and copy/paste the contents from that folder into the “graphicPacks” folder. If asked to overwrite any previous files, allow it to.
Step 5.
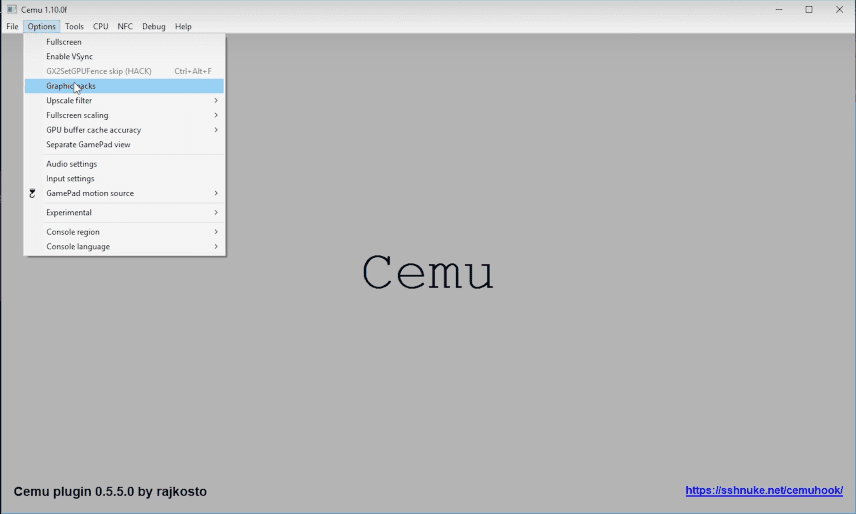
Launch CEMU and navigate to ‘Options’ and down to ‘Graphics Packs’ in the menu bar.
Step 6.
Once open, look for ‘Color Tweak + Adjustable Bloom’ & ‘Clarity GFX’. Tick their checkboxes to enable them.
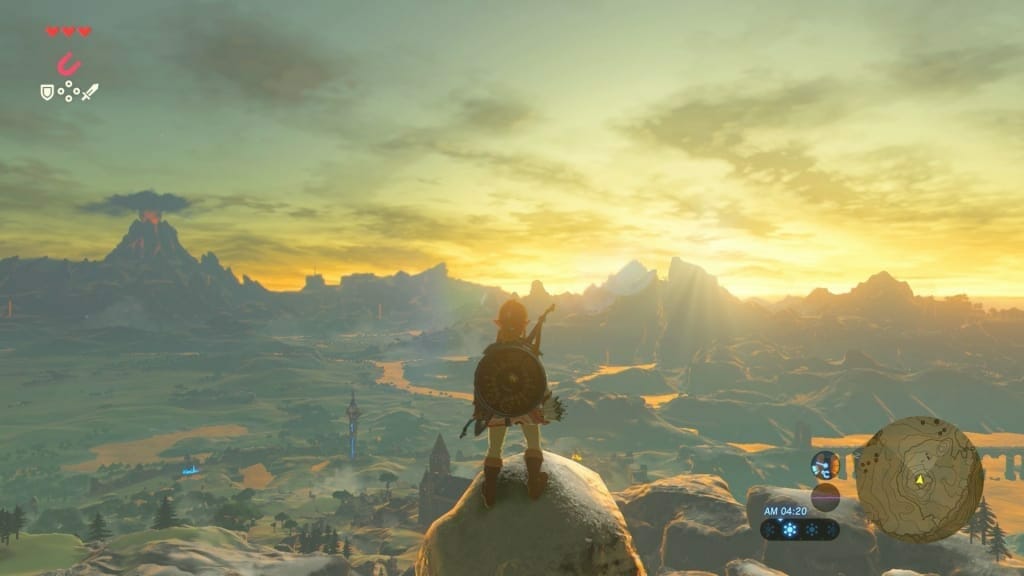
With all of this done, you simply close the window and run the game the way you have been, and voila! You will notice a significant upgrade to your graphics right off the bat.
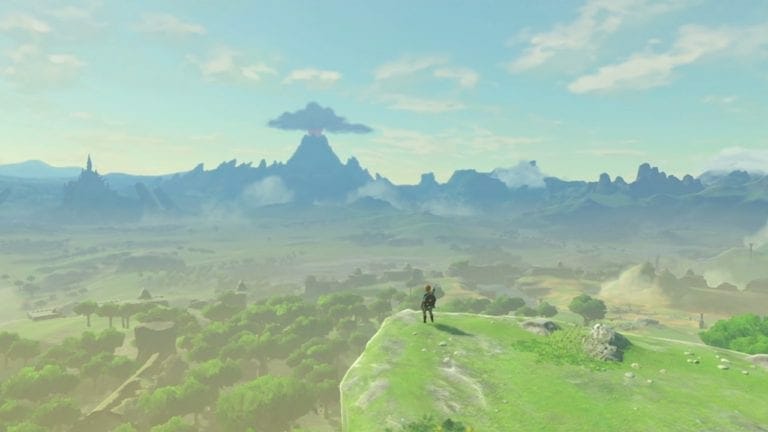
You will immediately notice better color, better darkness contrast, and the removal of grey mist.
If you wish to undo the changes, simply go back to Step 6. and uncheck the boxes, this will revert the graphics to their original state.
Keep in mind that the color changes are completely subjective. Some will enjoy the original look and feel, while others will prefer the graphics pack giving them better visuals.
Let us know in the comments section which one you prefer, and why.