Scarlet Nexus, released by Bandai Namco Entertainment, is a new action RPG set in a psychic technologically advance future. But the future doesn’t mean that the game won’t come with bugs. Players are experiencing pretty bad stutters and freezes when they hit enemies and during cut-scene, even when having high-end hardware like an AMD Radeon RX 6900XT. I mean, you can’t go higher than that. Turns out it is related to DirectX 12 (DX12). So we will tell you how to enable DX12 in Scarlet Nexus.
Some users suggested to unlock the FPS cap on the game but even on 300+ FPS, the issue still persists. Maybe it’s just a bad PC port, but then again most games are. DX12 in Scarlet Nexus is not supported in the game from the get go as some hardware still doesn’t support it. This is the reason why it is also not the default option in most games, however most Unreal Engine 4 games should support it fine.
Guide to Enable DX12 in Scarlet Nexus
Unfortunately, there is no option in the in-game settings to allow the game to use DX12 natively, so you have to do it manually. To enable DX12 in Scarlet Nexus, you will have to add the Launch option for it specifically in the game properties in Steam. Here’s how you can enable DX12 in Scarlet Nexus:
- Go to Steam and right-click on Scarlet Nexus.
- Select Properties
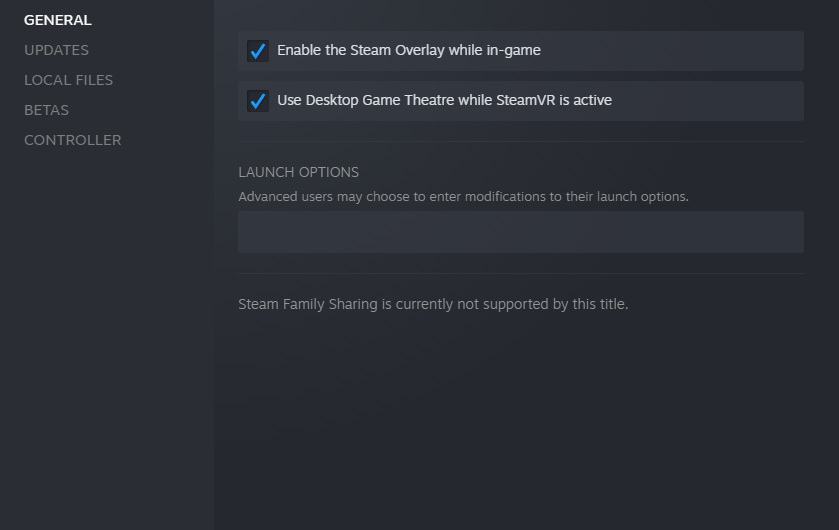
- You should see a window as shown in the above image
- In the LAUNCH OPTIONS box, type -DX12
That is it. You should now be getting performance in Scarlet Nexus and you do not have to doubt your expensive hardware as it was not its fault in the first place. Let us know in the comments below if this guide fixed your problem. You can see our other guides related to Scarlet Nexus down below: