Here is a comprehensive guide to install Windows XP. It takes 1 hour approx. To make the process easy to understand and manageable, it has been broken up into several sections. Before starting it is important to Backup your data stored in the C: Drive (Mainly windows in installed in C: Drive.). Backup Documents and Files on Desktop.
Starting Installation:
1) Start you PC and go to Bios settings and Select option “Boot Form Cd Rom”.
2) Restart your computer and Insert the Windows installation CD.
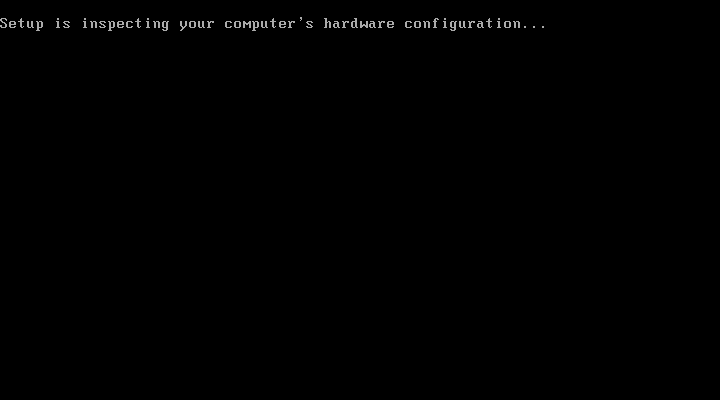
3) Press any key when you will be promoted to press.

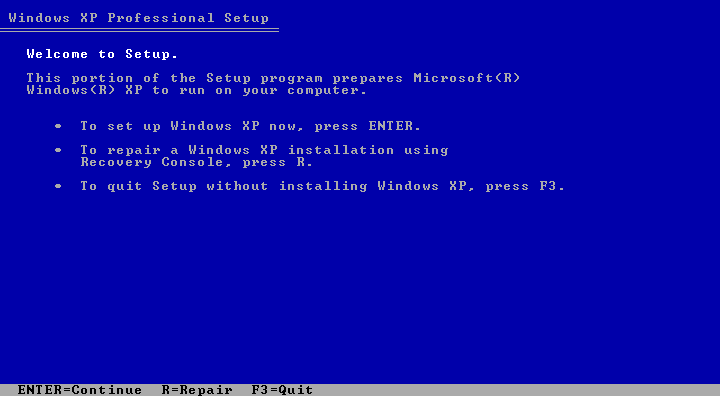
4) Windows XP Setup begins. Using keyboard On the Welcome to Setup page, press Enter.
5) On the Windows XP Licensing Agreement page, read the licensing agreement. Press F8 to accept the license agreement.

6) Now this type of screen will come. Here it will show the partition if there is already windows installed and also will as ask to if you want to repair. As we are doing a clean installation of windows xp so we will skip this process by pressing “Esc” key.

7) Here you will select the hard disk drive on which Windows XP will be installed. Once you complete this step, all data on your hard disk drive will be removed and cannot be recovered.
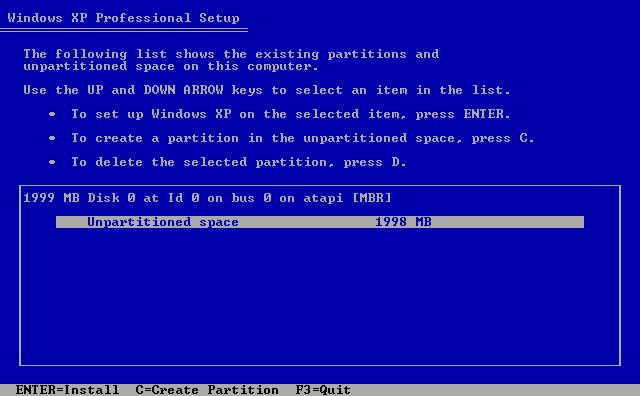
8) Now Press Enter to select Unpartitioned space.
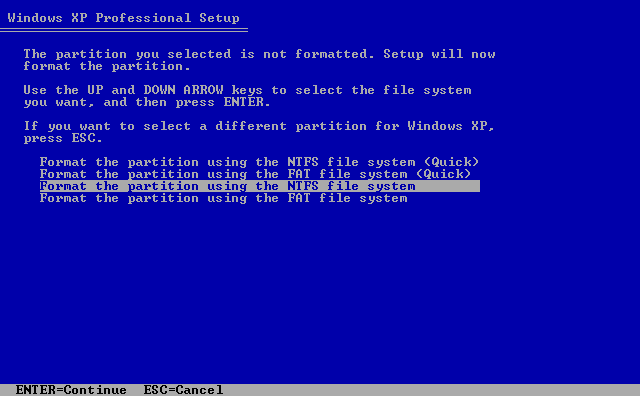
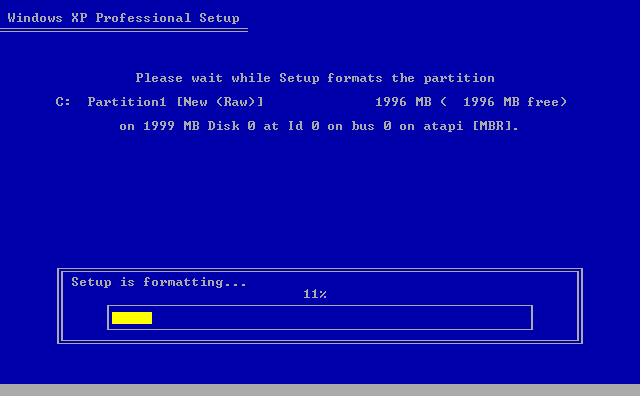
9) Select Format the partition using the NTFS file system. You can also select quick format if you want.
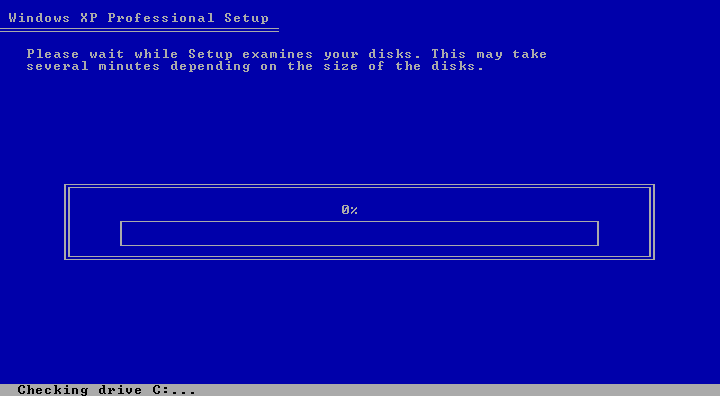
10) Windows XP erases your hard disk drive using a process called formatting and then copies the setup files. You can leave your computer and return in 20 to 30 minutes.
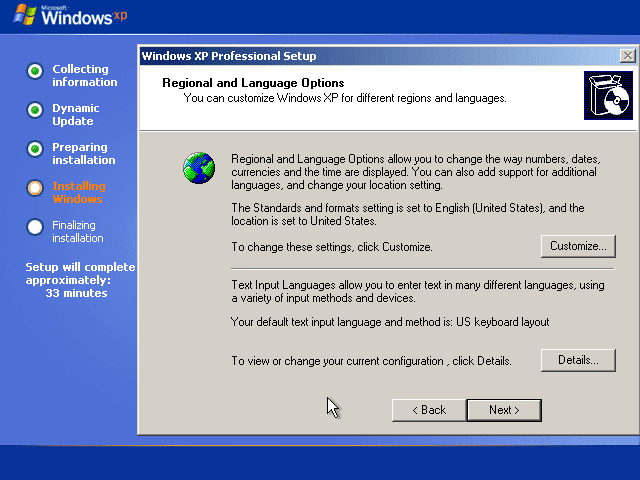
11) Windows XP restarts and then continues with the installation process. Regional and Language Options page appears. Click Next to accept the default settings. If you are multilingual or prefer a language other than English.
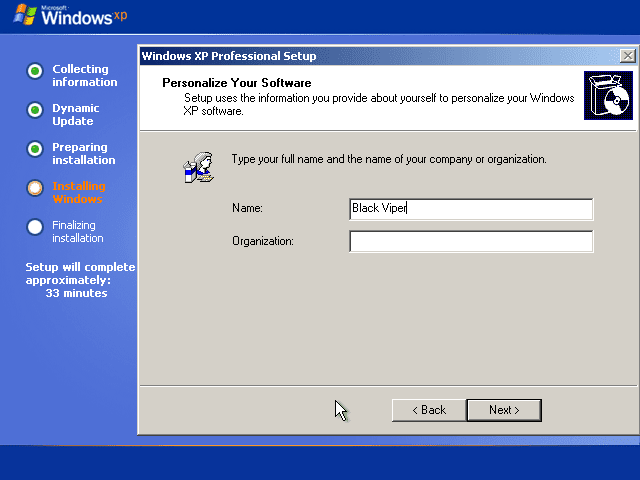
12) On the Personalize Your Software page, type your name.Then, click Next.
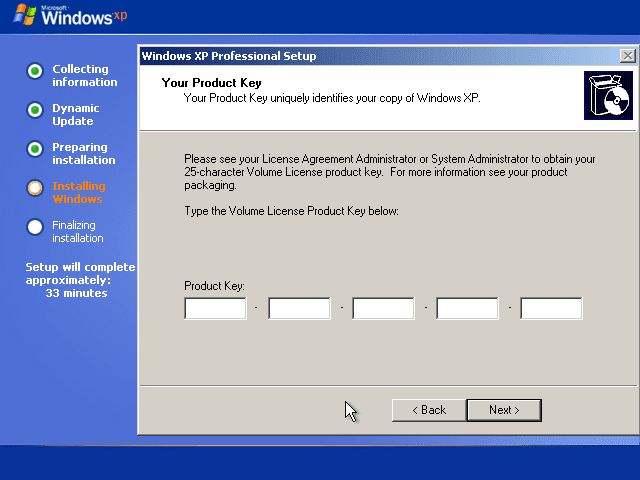
13) On the Your Product Key page, type your product key as it appears on your Windows XP CD case. The product key is unique for every Windows XP installation. Then, click Next.
14) On the Computer Name and Administrator Password page, Enter the name and set password if you want.

15) On the Date and Time Settings page, set your computer’s clock. Then, click the Time Zone down arrow, and select your time zone. Click Next.
16) Windows XP will spend about a minute configuring your computer. On the Networking Settings page, click Next.
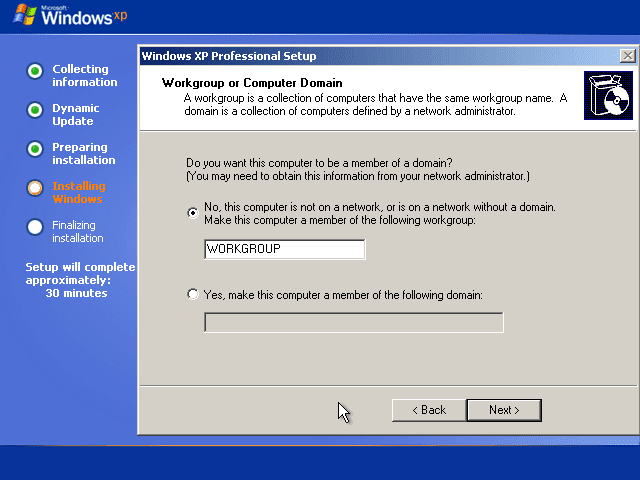
17) On the Workgroup or Computer Domain page, Select Workgroup if you are simple user, click Next.
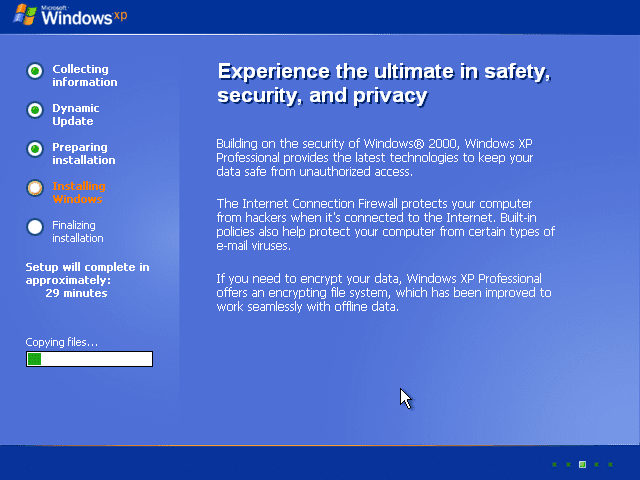
18) Windows XP will spend 20 or 30 minutes configuring your computer and will automatically restart when finished. When the Display Settings dialog appears, click OK.
19) When the Monitor Settings dialog box appears, click OK.
20) The final stage of setup begins. On the Welcome to Microsoft Windows page, click Next.
21) Now proceed with by clicking next and selecting the options you want.
22) On the Who will use this computer? page, type the name of each person who will use the computer. You can use first names only, nicknames, or full names. Then click Next.
23)On the Thank you! page, click Finish.

Windows XP setup is complete. You can log on by clicking your name on the logon screen.